Care & repairs
Floor Sanding Mistakes to Avoid (and How to Sand Timber Floors Properly)
 Roman Miller9 min read
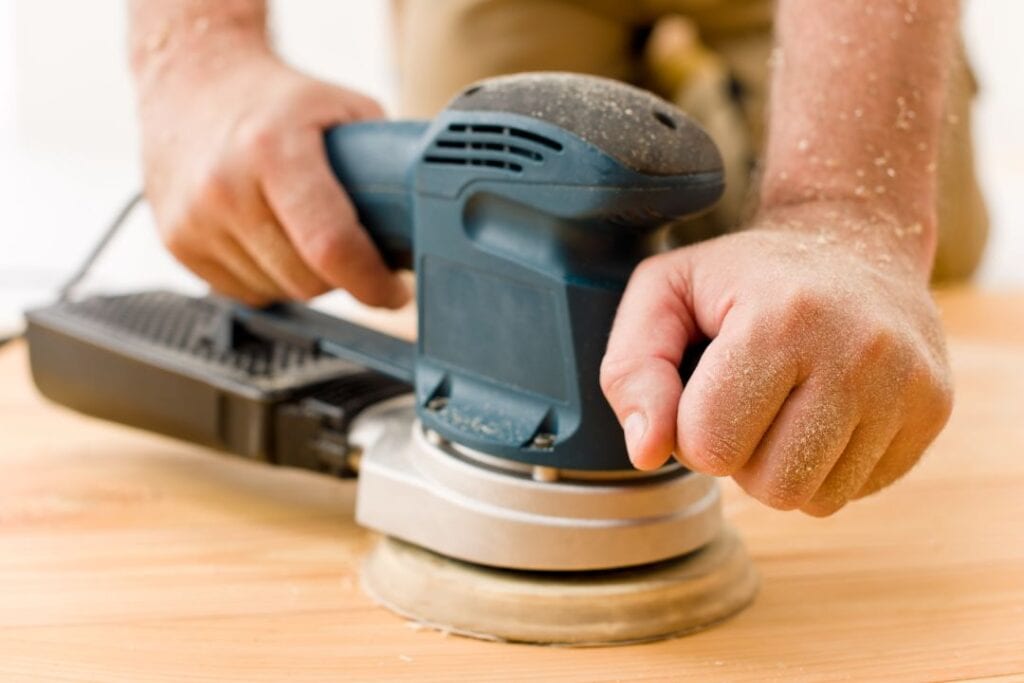
Sanding is the step that makes or breaks a timber floor. Done well, it reveals fresh, even timber ready for a flawless finish. Done badly, it leaves swirl marks, ridges, chatter lines and patches that show up the moment the first coat goes on, and they’re much harder to fix than to avoid.
Below are the most common floor sanding mistakes we see in Brisbane homes, the common mistakes people make with sanding in general, why they happen and how to avoid them. You’ll also find the right grit sequence, which sander to use for each job, what’s safe on engineered boards, and when it makes more sense to call a professional. It’s written by the team at LKV Flooring, drawing on years of preparing, sanding and finishing timber floors.
Quick answer
The most common floor sanding mistakes are poor preparation, skipping grits, sanding across the grain, using the wrong sander, stopping the drum sander in one spot, sanding through thin engineered veneers, leaving dust behind, and coating before the floor is ready. You can avoid most of these by preparing the room properly, following a steady grit sequence, and always finishing with the grain.
Should You Sand Across the Grain? True or False
A common question, often asked in trade courses.
“You should never sand across the grain or in circles, as this will leave visible scratch marks on the surface of the timber.”
Verdict: mostly true.
For final sanding, always work with the grain. Cross-grain and circular marks show clearly once the floor is coated. Professionals sometimes make an early pass on a slight diagonal to flatten very uneven boards, but every later pass runs with the grain to remove those marks.
10 Floor Sanding Mistakes to Avoid
Mistake 1: Skipping preparation
Leftover nails, staples, carpet grippers, and grit-tear sandpaper can gouge the timber. Gaps and loose boards make the floor uneven.
How to avoid it: Remove every fixing, punch nail heads below the surface, re-fix loose boards and vacuum thoroughly before you start.
Mistake 2: Skipping grits
Jumping from a coarse to a fine grit leaves deep scratches the finer paper can’t remove, and they show through the coating.
How to avoid it: Work through each grit in order, usually no more than one step at a time, until the previous scratches are gone.
Mistake 3: Sanding across the grain
Cross-grain and circular marks are hard to see bare but glaringly obvious once coated.
How to avoid it: Always finish every grit with the grain. Follow any angled flattening passes with straight passes along the boards.
Mistake 4: Using the wrong sander
A small orbital sander can’t flatten a whole floor, and a drum sander used carelessly can dig in.
How to avoid it: Use a drum or belt sander for the main floor, an edger along walls, and a multi-disc or orbital machine for the final blend.
Mistake 5: Letting the drum sit still
A drum sander that keeps spinning in one spot cuts a dip or “chatter” mark within seconds.
How to avoid it: Keep the machine moving, lower and lift the drum gradually, and slightly overlap each pass.
Mistake 6: Pressing too hard
Extra pressure creates uneven patches and can overheat or burn the timber.
How to avoid it: Let the sander’s weight do the work and use light, even pressure on edgers and hand sanders.
Mistake 7: Sanding through engineered veneer
Engineered boards have a limited timber layer. Sanding too deep exposes the core, which can’t be repaired.
How to avoid it: Check the veneer thickness first and use light passes with finer grits. Thin veneers may only suit a light recoat.
Mistake 8: Forgetting to fill gaps
Gaps and cracks collect dust and coating, and unfilled holes look worse after finishing.
How to avoid it: Fill gaps and holes with a matching filler after the coarse grit, then continue sanding.
Mistake 9: Leaving dust behind
Fine dust trapped under the coating causes a rough, gritty finish and poor adhesion.
How to avoid it: Vacuum between every grit and before coating, then wipe with a tack cloth or a slightly damp microfibre cloth.
Mistake 10: Rushing to coat
Coating too soon, or in humid conditions, can lead to cloudiness, bubbles or slow curing.
How to avoid it: Allow dust to settle, check the timber is dry and stable, and follow the coating maker’s timing.
How to Sand Timber Floors Properly: Step by Step
If you’re sanding hardwood floors yourself, follow this order to avoid most of the mistakes above.
- Prepare the room: clear furniture, remove fixings, punch nails and vacuum.
- Make the first cut: run the drum sander with the grain using a coarse grit, keeping it moving at all times.
- Edge the perimeter: use the edger along walls and in corners with the same grit.
- Fill gaps and holes: apply matching filler, then let it dry fully.
- Step up through the grits: repeat drum and edger passes with each finer grit, vacuuming in between.
- Blend the surface: finish with a multi-disc or orbital sander to remove drum and edger marks.
- Clean thoroughly: vacuum, then wipe with a tack cloth before the first coat.
Take your time with each stage, and work in good light so you can spot missed areas and scratches early. Most of the problems people discover after coating trace back to a rushed first cut or skipped grit.
The Right Grit Sequence for Sanding Timber Floors
Grit numbers describe how coarse the sandpaper is. Lower numbers are coarse and remove material quickly, while higher numbers are fine and smooth the surface. A typical sequence for an older coated floor looks like this:
- 24 to 40: Removes old coatings and flattens cupped or uneven boards
- 60: Removes the deep scratches from the first cut
- 80: Refines the surface ready for filling and finishing
- 100 to 120: Final smoothing before coating
Not every floor needs every grit. A newer floor in good condition might start at 60 or 80, while an old, heavily coated or uneven floor may need the coarsest grit first. Engineered boards should almost always start finer to protect the veneer.
Which Sander for Which Job?
| Sander | What it does | Best for |
|---|---|---|
| Drum or belt sander | Removes coatings and flattens large areas quickly | The main floor area, run with the grain |
| Edger | Reaches close to walls and into corners | Perimeters and areas the drum can’t reach |
| Multi-disc or planetary sander | Blends and smooths without leaving drum marks | Final passes and engineered floors |
| Orbital or detail sander | Small, controlled sanding | Stairs, corners and spot repairs |
| Scraper | Removes material by hand in tight spots | Under heaters, door frames and corners |
Sanding Engineered Timber Floors Safely
Your veneer sets the limit
Check before you sand
On engineered boards, the genuine timber is only a 2mm to 6mm skin bonded to a manufactured base. A full sand typically removes around 1 to 1.5mm. Boards with a 3mm or thicker veneer can usually be sanded once or more, but 2mm veneers are generally best left to a light buff and recoat. Sanding also removes factory bevels, leaving a flatter look.
Not sure what you have? Lift a floor vent or check an edge at a doorway to see the veneer, or ask a professional to check. Learn more in our engineered timber explainer and our guide to bevelled edge flooring.
Safety Tips Most DIY Guides Skip
- Wear protection: a P2 dust mask or better, eye protection and hearing protection.
- Older homes: paint and coatings in homes built before about 1970 may contain lead, so test before sanding painted or old coated floors.
- Dust control: seal doorways, turn off air conditioning and use sanders with good dust extraction.
- Fire risk: fine timber dust and oily rags can be a fire hazard, so empty dust bags often and dispose of rags safely.
- Electrical safety: check leads for damage and keep them behind the machine.
Signs Your Floor Needs Sanding
Not every tired floor needs a full sand. A worn coating with grey traffic lanes, deep scratches through the finish, water marks, uneven colour or a floor that has never been sealed usually needs sanding back to bare timber. If the coating is simply dull but intact, a professional buff and recoat can often restore it at a fraction of the cost and with far less timber removed. Choosing the gentler option where possible is one of the easiest ways to avoid floor sanding mistakes altogether, because every full sand uses up timber you can never get back, especially on engineered boards.
DIY Floor Sanding vs Hiring a Professional
DIY sanding
- Lower upfront cost if you hire equipment
- Steep learning curve with heavy drum sanders
- High risk of chatter marks and uneven patches
- Several days of your own time
- Mistakes can mean extra sanding or board replacement
Professional sanding
- Typically about $30 to $55 per m² for sand and polish
- Experienced operators and dust-extracting equipment
- Even, consistent finish with less timber removed
- Usually completed in a few days, including coating
- Advice on finish, colour and repairs
For most homeowners, a professional finish is worth it on living areas and expensive timber, while DIY can suit a small room or a floor you plan to cover. If your floor is too worn or thin to sand, replacing it may be the better long-term option, and that’s where our hardwood flooring and timber installation services come in.
Choosing a Finish After Sanding
Once the floor is sanded, the coating decides how it looks and wears. Water-based polyurethane keeps timber close to its natural colour, solvent-based polyurethane adds warmth and builds a very hard film, and hard-wax oil gives a soft, natural feel that’s easy to spot-repair. Our finishes comparison breaks down the pros and cons of each.
Before‑sanding checklist
- Furniture and rugs removed
- Nails punched, and staples pulled
- Loose boards re-fixed
- Old fixings and grippers removed
- Veneer thickness checked
- Gaps and holes noted for filling
- Dust mask, eye and ear protection ready
- Doorways sealed and vents covered
Floor Sanding FAQs
What are the most common floor sanding mistakes?
Poor preparation, skipping grits, sanding across the grain, using the wrong sander, letting the drum sit still, pressing too hard, sanding through engineered veneers, leaving dust and coating too soon.
Should you sand across the grain of a timber floor?
For final sanding, no. Always finish with the grain, because cross-grain and circular marks show through the coating. You may use a slight diagonal pass early to flatten uneven boards, followed by passes with the grain.
What grit should I use to sand timber floors?
A common sequence is 24 to 40 grit to remove coatings, then 60, 80 and finally 100 to 120 before coating. Floors in good condition can start at a finer grit.
Can you sand engineered timber floors?
Yes, if the timber veneer is thick enough. Boards with 3mm or more can usually be sanded, while 2mm veneers are better suited to a light buff and recoat.
How much does floor sanding cost in Australia?
Expect roughly $30 to $55 per square metre for professional sanding and polyurethane coat, with stairs, repairs and premium coatings costing extra.
How do you avoid drum sander marks?
Keep the sander moving at all times, lower and raise the drum gradually, overlap passes slightly and finish with a multi-disc sander to blend.
How long after sanding can you apply finish?
Once all dust has been removed and the timber is dry and stable, you can coat the same day, but follow the coating maker’s timing between coats.
Is it better to sand floors yourself or hire a professional?
DIY can save money on small areas, but professional sanding gives a more even finish with less risk of damaging the timber, especially on large or valuable floors.
Unsure Whether to Sand or Replace?
At LKV Flooring, we can look at your existing timber and give honest advice on whether it’s worth sanding and refinishing, or whether a new floor is the better investment.