Are you considering sanding your old or damaged floors? Floor sanding is an essential step to give your floors a new look. However, it can also be a difficult process that requires attention to detail and patience. If not done correctly, it can lead to disastrous results. LKV is here to help and prove education with the seven most common floor sanding mistakes people make and how to avoid them
Floor sanding is an important task that can rejuvenate your floors and restore their beauty. Whether you are planning to stain or paint your floors, sanding is a critical step that you need to take seriously. Sanding is a process of removing the old finish and the top layer of the wood to prepare it for a new coat. However, if you neglect the preparation, skip grits, sand against the grain, use the wrong equipment, or rush the process, it can lead to ugly results.
Mistake 1. Neglecting to Prepare the Floor
One of the most common mistakes people make when sanding their floors is failing to prepare the floor properly. Before you start sanding, you need to clean the floor thoroughly by removing all dirt, dust, and debris. Neglecting to prepare the floor can result in scratches and unevenness that can ruin the final product. You should also fill any gaps and cracks in the floor to prevent further damage. So, before you start sanding, take the time to prepare your floor correctly.
Mistake 2. Skipping Grits
Another mistake that people make when sanding floors is skipping grits. Grits refer to the different levels of abrasiveness in sandpaper. Skipping grit can result in an uneven surface that will show up after staining or finishing. Start with a coarse grit and gradually work your way up to a finer grit for the best results. Each level of grit removes the scratches and roughness left by the previous level of grit. So, make sure you don’t skip any grits to achieve a smooth and even finish.
Mistake 3. Not Sanding with the Grain
Sanding against the grain can result in scratches and other imperfections that will show up in the final product. Always sand with the grain of the wood to achieve a smooth and even finish. If you’re not sure which way the grain runs, look for the direction of the wood’s growth rings. Sanding with the grain removes the roughness and scratches on the surface while preserving the natural texture of the wood.
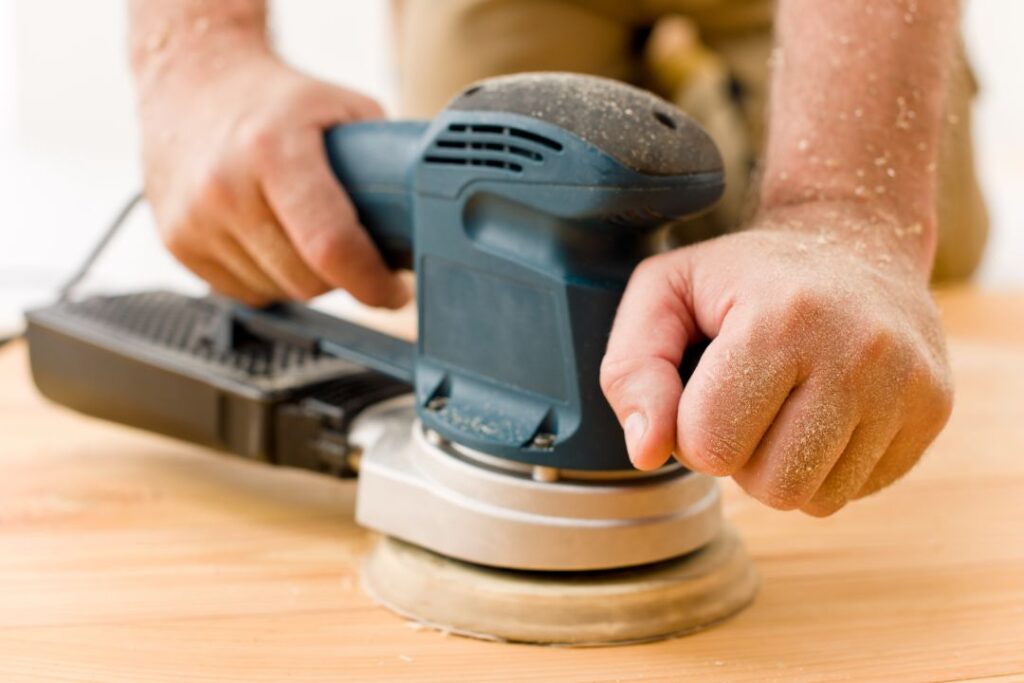
Mistake 4. Not Using the Right Equipment
Using the wrong equipment can lead to poor results and even damage to the floor. Make sure you use the right type of sander for the job, and use the correct grit sandpaper for each stage of sanding. Also, be sure to wear protective gear such as goggles and a respirator to protect yourself from dust and debris. Using the right equipment can make the sanding process more efficient and result in a better finish.
Mistake 5. Rushing the Process
Floor sanding is a time-consuming process that requires patience and attention to detail. Rushing the process can result in a subpar finish that won’t look good or last long. Take your time and pay attention to each step of the process to achieve the best results. Sanding is a gradual process that requires multiple passes with different grits of sandpaper. Rushing the process can result in scratches, unevenness, or other imperfections that can ruin the final product.
Mistake 6. Too Much Pressure
When sanding your floors, it’s important to use a light and even pressure. Using too much pressure can result in uneven sanding and even damage to the floor. Make sure to let the sander do the work and use a gentle touch.
Mistake 7. Not Removing all the Dust
After sanding, it’s important to remove all dust from the floor before staining or finishing. Failure to do so can result in a poor finish and can even prevent the stain or finish from adhering properly. Use a vacuum and a tack cloth to remove all dust from the surface of the floor.
Floor sanding is an important task that can restore the beauty of your floors. However, it’s crucial to avoid these common mistakes to ensure a successful outcome. By properly preparing the floor, using the right equipment, and taking your time, you can achieve a smooth and even finish that will last for years.